In last episode I learned how to setup wifi on my raspberry pi so I can move it away from the router. Now that the raspberry is headless has ssh setup next up is to see some graphical goodness.
#Task VNC
As usual my first stop is google and to find a guide which was easily found.
First up run apt-get update and then install the package tightvncserver.
sudo apt-get update
sudo apt-get install tightvncserver
Once installed we need to run tightvncserver to configure the bits.
pi@raspberrypi:~ $ tightvncserver

You will require a password to access your desktops.

Password:
Warning: password truncated to the length of 8.
Verify:
Would you like to enter a view-only password (y/n)? n

New 'X' desktop is raspberrypi:1

Creating default startup script /home/pi/.vnc/xstartup
Starting applications specified in /home/pi/.vnc/xstartup
Log file is /home/pi/.vnc/raspberrypi:1.log

pi@raspberrypi:~ $
Now that we have the server running we need to connect to it and nothing is easier than VNC Viewer.
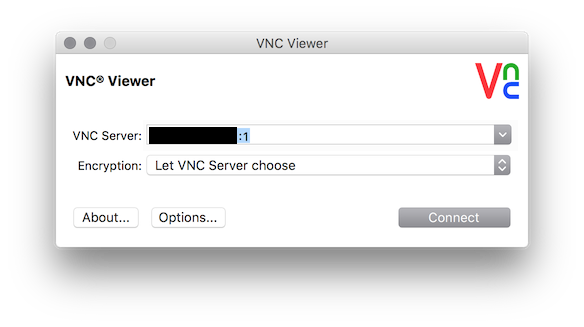 don’t forget the :1 after your hostname/ip address
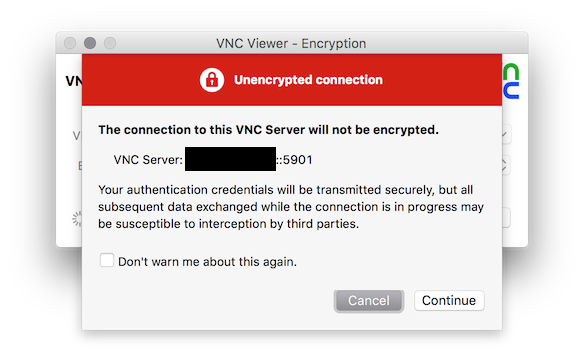
Confirm through the prompt and enter your password.
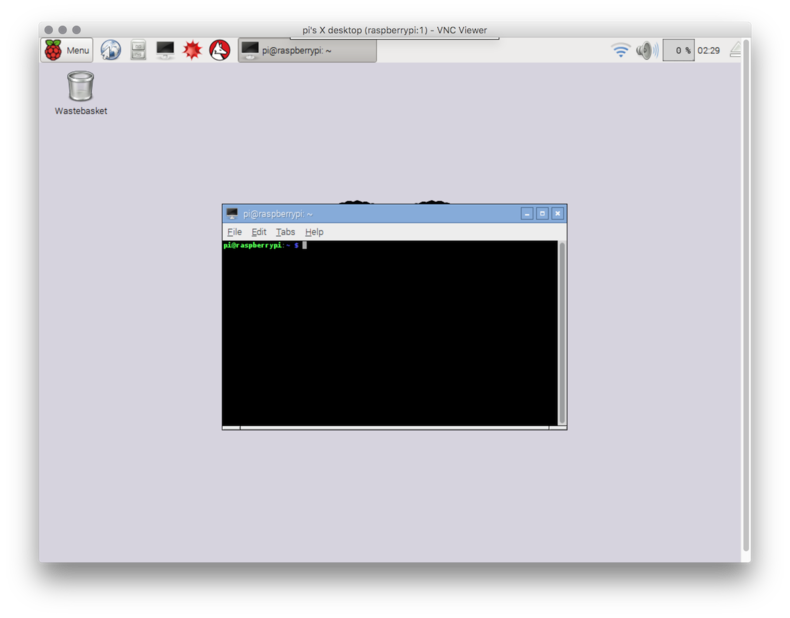
##Success
We are connected to the vnc server over wifi
What about reboot
Let’s try it out sudo reboot it appears VNC is no longer running :-(
Next up we need to go back to google and figure out what we need to do next starting vnc at boot
We need to create the start script for our vnc server.
sudo nano /etc/init.d/vncserver
We next need to edit and save the new file (ctrl-x, enter)
#!/bin/sh -e
### BEGIN INIT INFO
# Provides:          vncserver
# Required-Start:    networking
# Default-Start:     S
# Default-Stop:      0 6
### END INIT INFO

PATH="$PATH:/usr/X11R6/bin/"

# The Username:Group that will run VNC
export USER="pi"
#${RUNAS}

# The display that VNC will use
DISPLAY="1"

# Color depth (between 8 and 32)
DEPTH="16"

# The Desktop geometry to use.
GEOMETRY="1280x800"

# The name that the VNC Desktop will have.
NAME="raspberrypi-vnc-server"

OPTIONS="-name ${NAME} -depth ${DEPTH} -geometry ${GEOMETRY} :${DISPLAY}"

. /lib/lsb/init-functions

case "$1" in
start)
log_action_begin_msg "Starting vncserver for user '${USER}' on localhost:${DISPLAY}"
su ${USER} -c "/usr/bin/vncserver ${OPTIONS}"
;;

stop)
log_action_begin_msg "Stoping vncserver for user '${USER}' on localhost:${DISPLAY}"
su ${USER} -c "/usr/bin/vncserver -kill :${DISPLAY}"
;;

restart)
$0 stop
$0 start
;;
esac

exit 0
We also need to run the commands so they are installed for startup.
sudo chmod +x /etc/init.d/vncserver
sudo update-rc.d vncserver defaults
Now that all tasks are complete we can try out executing sudo reboot.
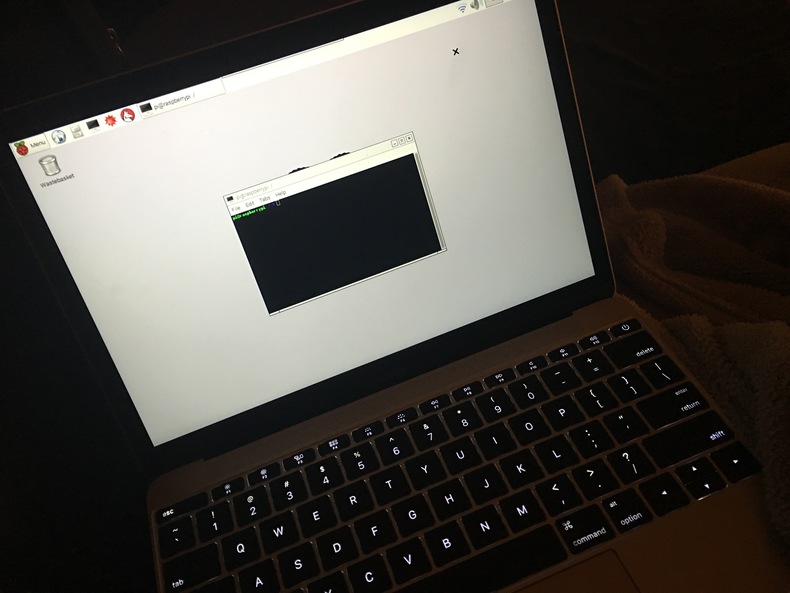
#YES!
The vnc server started up and I was able to remotely connect.
Mental Recap
- using
apt-getto installtightvncserver - staring a vnc server from an ssh session
- using vnc viewer to connect
- creating a startup routine to launch the vnc server on reboot