Controlling the Flow
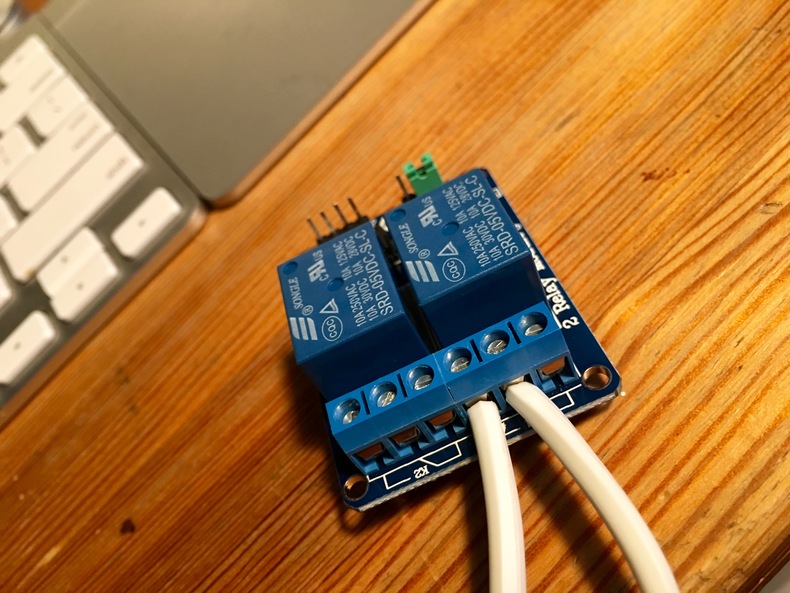
Relay tied into an extension cord, C_LOG_23
December 23, 2015Now that I have the relay hooked up I was able to make the small LEDs on the relay flash it is now time to use it to switch power. Before we get started I would like to state I really don't know what I am doing but do have some basic electrical experience and need to state we are now dealing with 120v which is dangerous. Please be careful and use caution when touching or hooking up anything. Since we have that out of the way time to get to work.
the cord

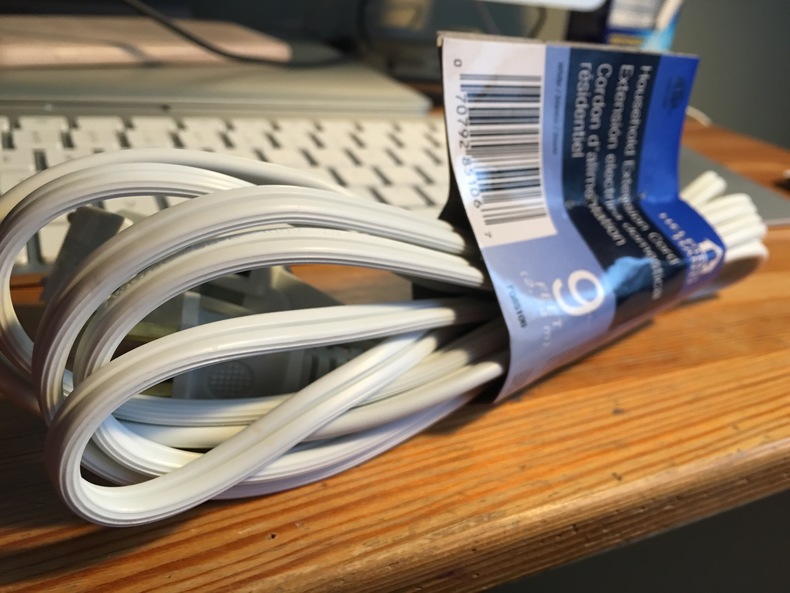
I picked up the most basic extension cord I could find since there was a high probability this whole thing might not work and it could be a throw away purchase.
cutting it
Before I cut one side of the cable I had to make sure I was cutting the right wire. The one side was ribbed which I knew meant something but until I searched I learned the smooth side is normally the hot wire.

smooth side cut and shielding stripped
Into the relay
The relay I purchased did not come with any type of instructions so after searching I learned about the common, normally open, and normally closed terminals.

not totally sure if this is correct, but it works.
add control wires
Now that we have the extension cord wired up it is time to re-connect the relay to the raspberry pi.

I am now using my female-female wires
Strobe Light
I plugged the floor lamp into the extension cord and loaded up my little node script that toggles the relay every 500ms. This step now turned my floor lamp into a flashing light.

success!
mental recap
- The relay works, score!
- We are now dealing with 120v, use caution, double and triple check things so you don't get hurt
- Time to think about how to mount this in my project box
- Is this safe? Need to do some more research
Cover image credit: http://facebook.com/RodrigoMoraesPhotography
