Recently I attended an event discussing how to leverage Azure for development and test scenarios. The event was presented at a high level and covered topics like setting up virtual machines, creating cloud services, web roles, worker roles, and a bit on visual studio online. The one topic presented about visual studio online was load testing in the cloud. I dabbled with load testing a few months ago setting up a local agent and local test controllers which was time consuming so making this process easy peaking my interest quickly.
#Setup
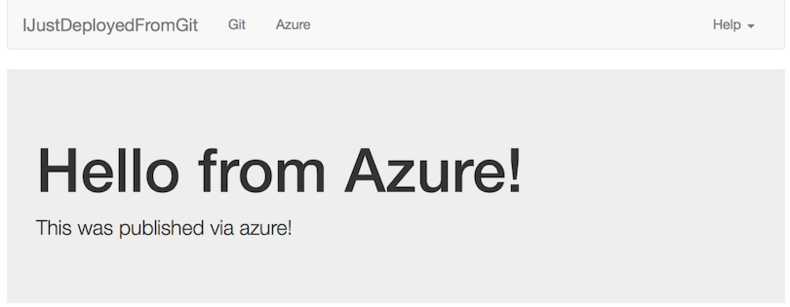
- Since we are talking about the cloud, we might as well use the website I setup inside of azure previously. I did however make a few changes to include a top navigation and a few additional pages so our webtest performs a few actions.
- You have access to Visual Studio Online with TFS and connected in Team Explorer
- You can create a Load Test inside of Visual Studio Ultimate
#Creating the WebTest
####Creating the Project
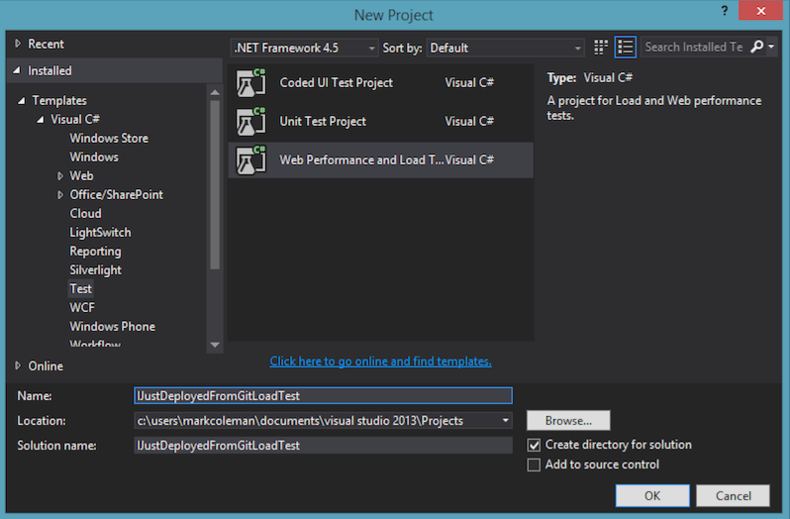
The first thing that we need to do is create the web test. This is accomplished by creating a new “Web Performance Load Test” Project inside of Visual Studio.
####Solution View
Once the project is created you will see one file that ends in .webtest. This is the file were will create our web test.

####Add Recording
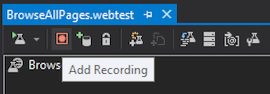
Next thing we need to do is create a recording of the actions we want to perform on our web site. This is done by opening up the .webtest file and clicking on the “Add Recording” button.
####Recording View
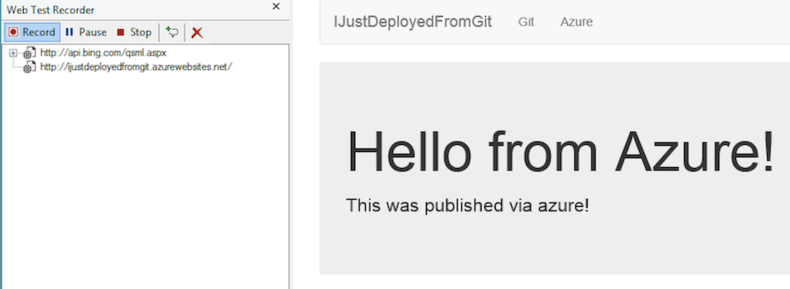
Once you clicked on the button Internet Explorer will launch with an add-on enabled that tracks your actions. (If this is not shown make sure the add-on is enabled inside of Internet Explorer)
####Recording Output
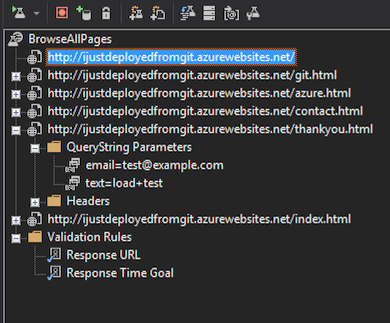
After you are done recording your actions click stop recording in the add-on and you will return to the .webtest file. Looking over the file you will see all the actions that you performed on the website.
####Running Local
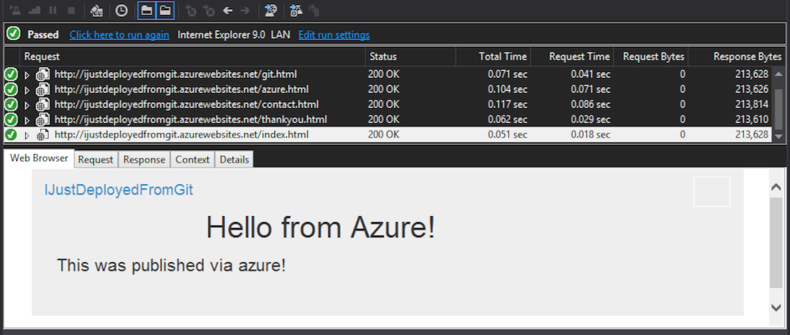
Before we start running our load test it is a good idea to verify that your webtest functions correctly and run the test locally.
#Create Load Test
####Add LoadTest
Now that we see the webtest is validated we need to add a “Load Test”. This is done by adding a new file to your project.

####Add Load Test Dialog
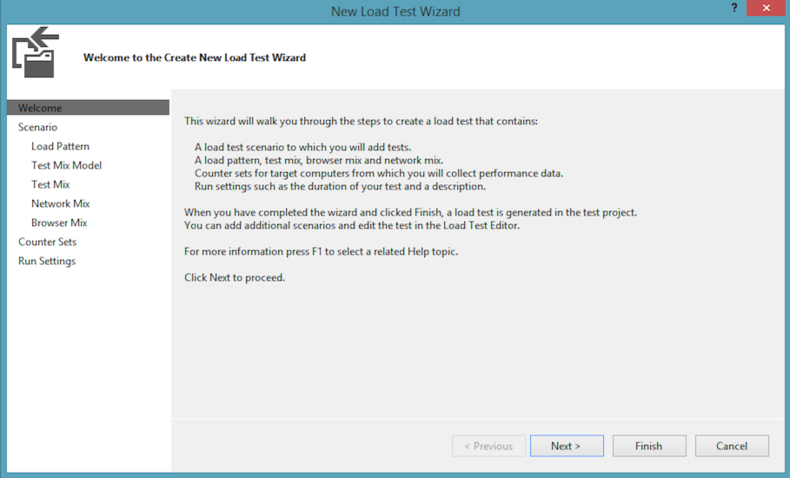
After the load test is added to your project you will be presented with a dialog to configure your test. We are only concerned about a few items in this test.
####Change Step Load
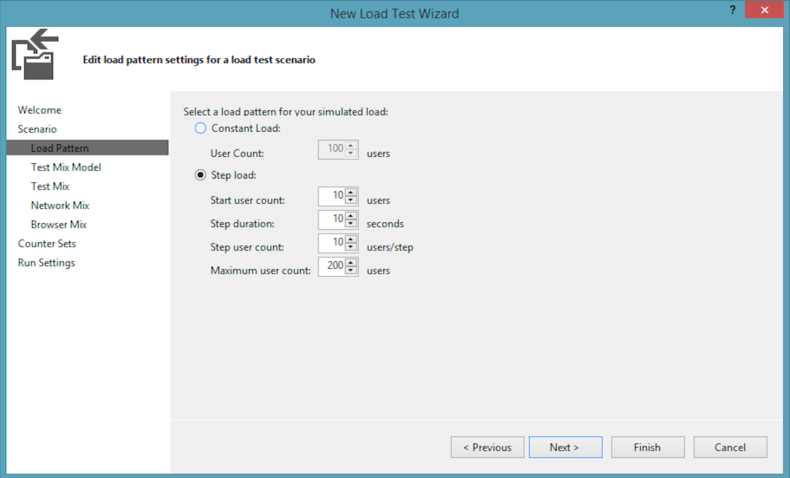
One of the options we want to alter is the load we are going to put on our site. I decided to do a Step Load which starts at 10 users and steps up every 10sec by 10 users until a maximum of 200 concurrent users.
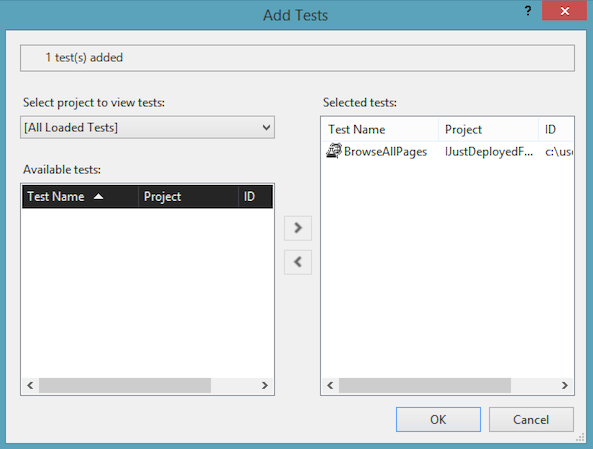
####Add Web Test
The next part and the most important part is adding in your webtest to your load test. You can add in multiple web tests but since we only created one we only have access to this one webtest.
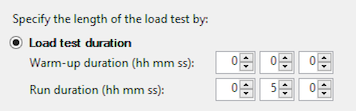
####Duration
I also decided to change the duration to 5minutes so we can capture data inside of the portal while the load test is running.
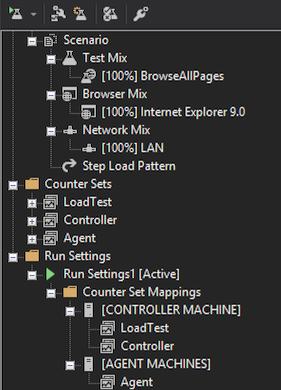
####Load Test
After you have all the settings changed you can see the configuration tree in the load test file inside of visual studio.
#Configure for the Cloud
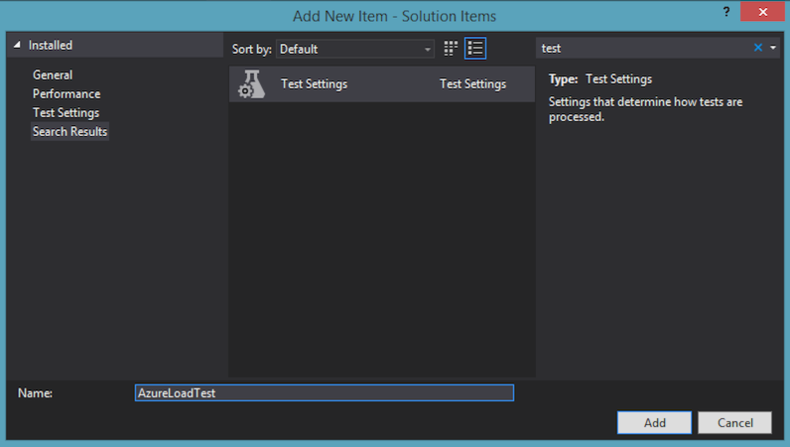
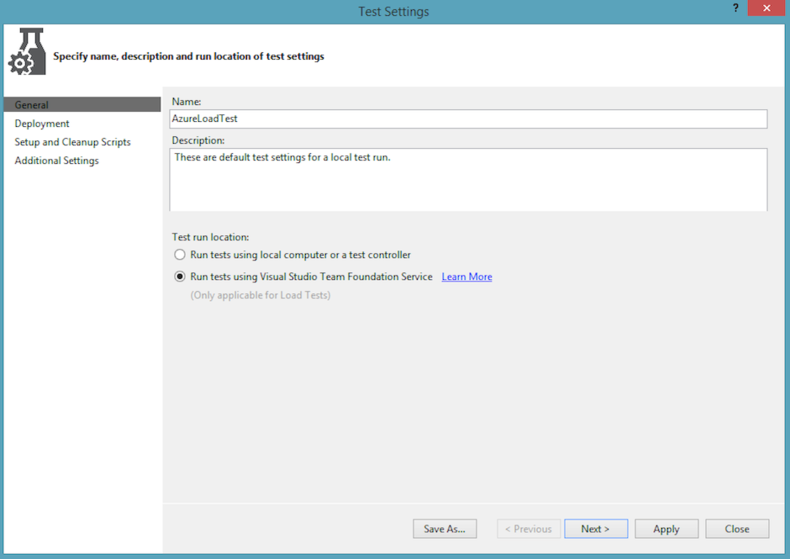
####Add Test Settings
Next we need to create a separate “Test Settings” file so we can configure our load test to run on Visual Studio Online.
####Change Test Settings
The most important setting we need to change is to select the radio button to “Run tests using Visual Studio Team Foundation Service” After that selection is made you can click apply and close down the dialog.
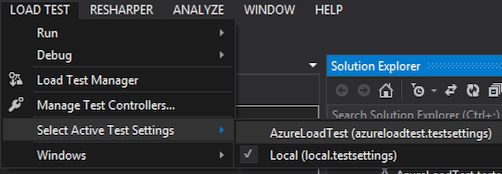
####Select Load Test Settings
Now that we have our Tests Settings we need to tell the Load Test to use this file. This is done by clicking on “Load Test” and selecting the new test settings file.
#Running Your Test
####Run Load Test
We are now ready to get started by clicking on Run under “Load Test”

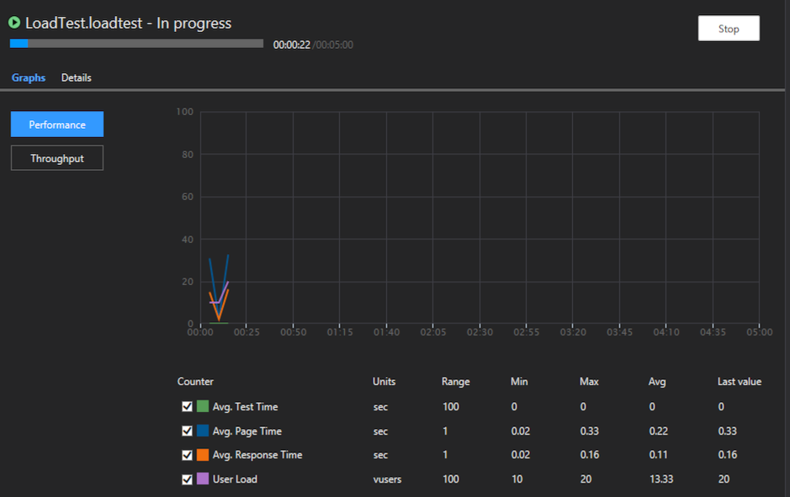
####Load Test is Running
At first your load test will be queued for execution and after a few moments your test will begin running.
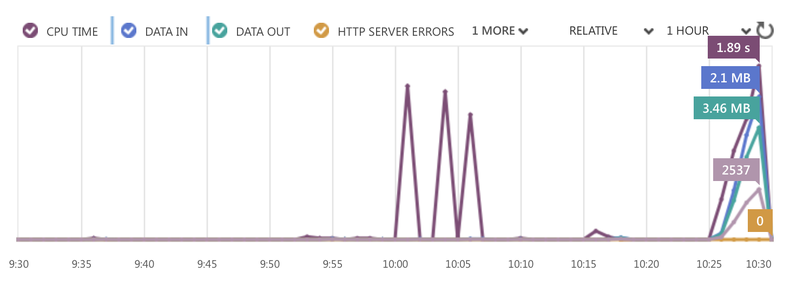
####View in Dashboard
If you go into the portal inside of Azure and select your website you can see the results of your currently running load test.
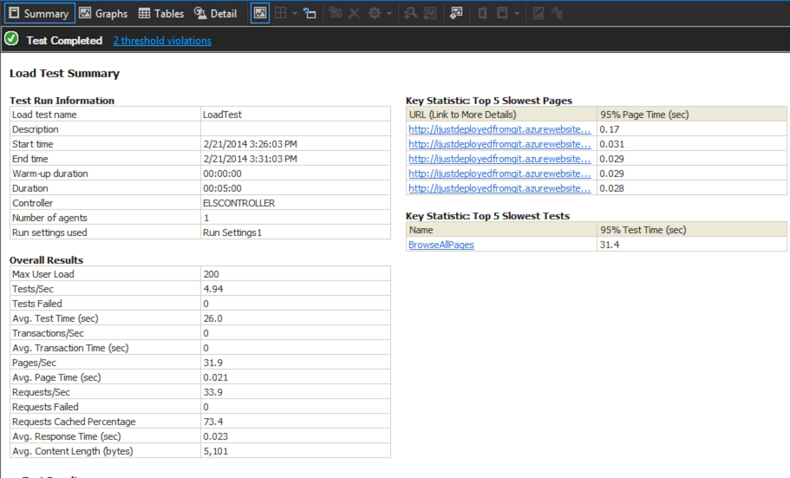
####LoadTest Results
After the test is complete a report is generated that you can use to view various stats and any errors that were encountered during the test.
#Conclusion Once again Azure and Visual Studio Online makes this process painless. If you have access to these tools in our organization there the reasons to contract with an outside load test vendor decrease greatly.