Recently I have been exploring and learning as much as I can regarding azure. So far I learned how to build a vm in the cloud, perform some load testing, and deploy a website via git. Next up on my list is to learn about Mobile Services. First thing I am going to learn is how to configured it and create a sample iOS project that stores and retrieves data from azure.
Steps I took, your mileage may vary
###Log into the portal
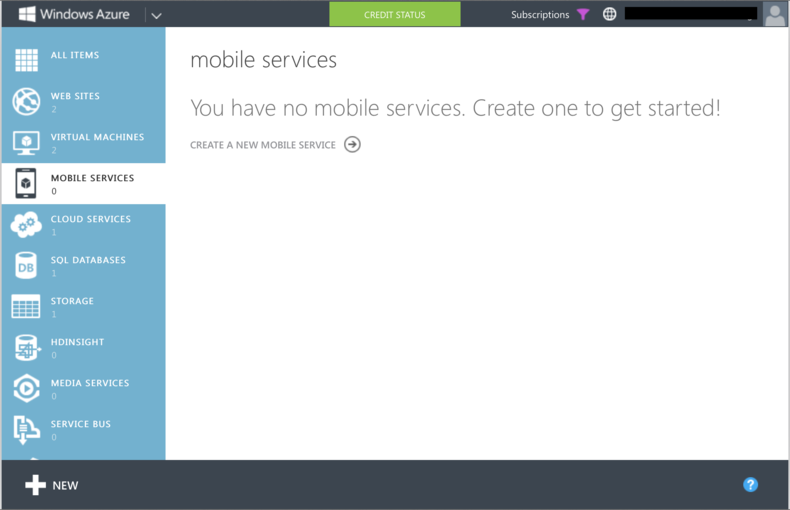 Logically the first thing you need to do is log into the azure portal and click on “Mobile Services” and then “Create A New Mobile Service”
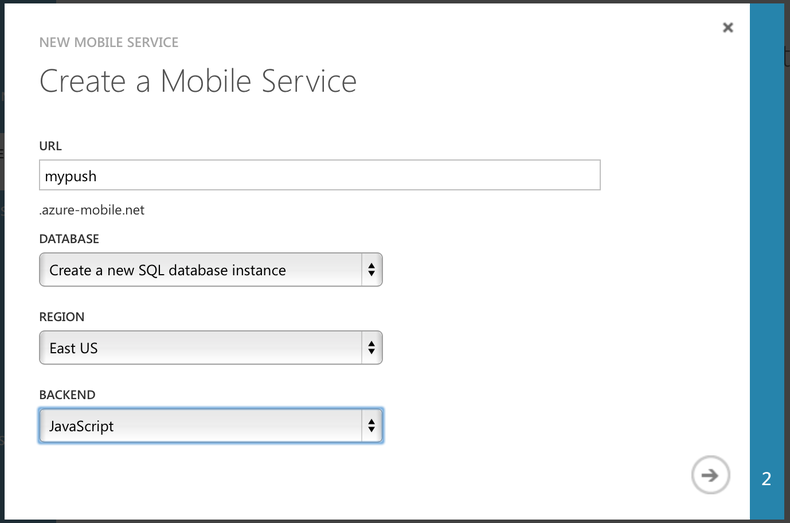
###Pick Url
From there you are presented a wizard that guides you through the process of creating your first mobile service.
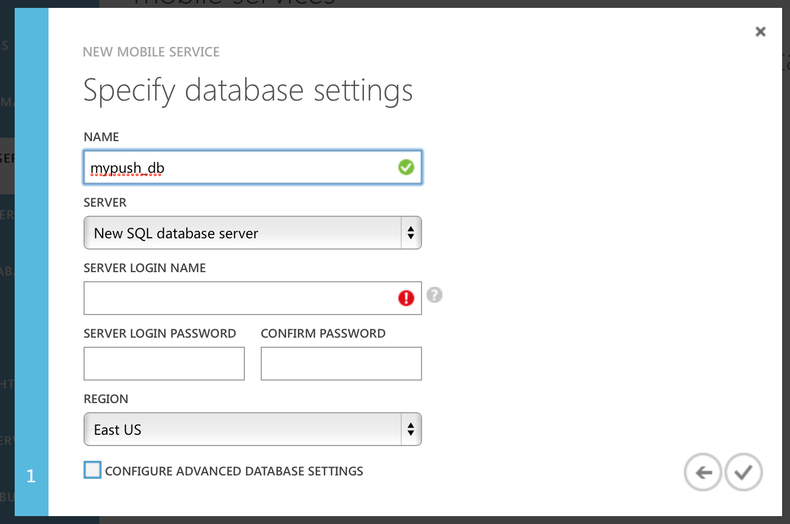
###Setup Sql Server Info
Since I picked to create a new sql server I had to fill out the settings for the sql db.
###Creating mobile service and Sql
After you complete those two steps your first mobile service will be configured and created.

###Getting Started
After a few minutes your mobile service is created and you are presented with a getting started page which includes sample code for various mobile platforms.
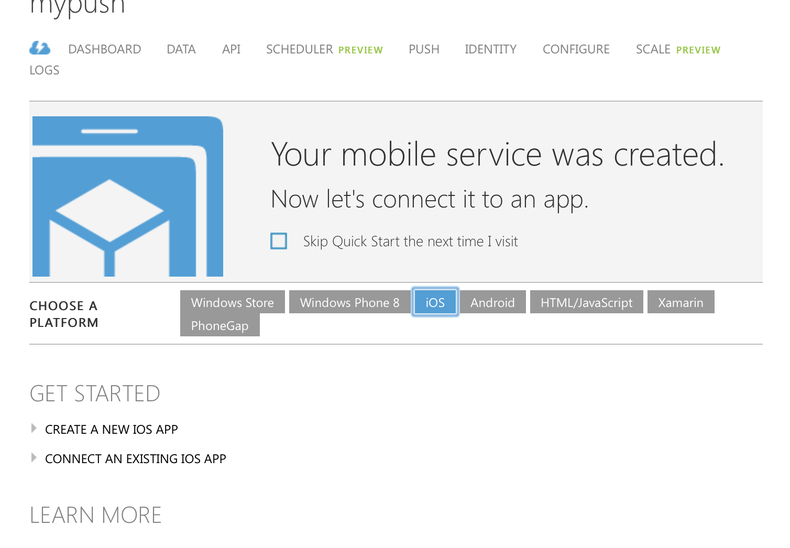
#iOS In this example I am going to use iOS as the platform to consume my first mobile service. The demo project I am going to create is the Master Detail project type when creating a new Xcode project.
Disclaimer, I am a C# developer by day so any tips on how to improve this is greatly appreciated.
###Adding the client
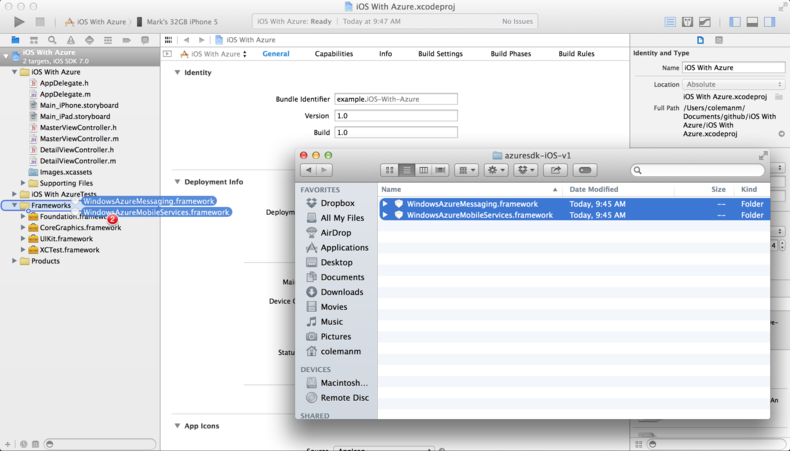
After I created the Master Detail project I have to add in the SDK for iOS that allows me to communicate to my mobile service. From the getting started guide you download the SDK. After you have it downloaded the guide simply mentions dragging and dropping the two framework files into your project. Make sure to check the box to copy to the project.
##Or use CocoaPods Last week when I learned about error logging with Raygun for iOS I was introduced to cocoapods which is a dependency manager for objective-c projects. I like this idea so we can reference the azure sdk via a PodFile and not deal with drag and drop or downloading from a site.
###Create a PodFile
touch PodFile
###Add in your dependency
pod 'AzureSDK-iOS', '~> 1.1'
###Install your dependencies
pod install
###Open your project
open iOS\ With\ Azure.xcworkspace/
##Using the Client Now that we have the client framework installed we can start using it. Under the getting started welcome page it gives you tasks needed to interact with your mobile service.
###Add to AppDelegate.h The first thing you need to do is create a property to hold your MSClient, I used the guide and added this to the AppDelegate.h file in the iOS project.
#import <UIKit/UIKit.h>
#import <WindowsAzureMobileServices.h>

@interface AppDelegate : UIResponder <UIApplicationDelegate>

@property (strong, nonatomic) UIWindow *window;

@property (strong, nonatomic) MSClient *client;

@end
###Add to AppDelegate.m
Since we now have a property in our header file we can instantiate our MSClient inside of the didFinishLaunchingWithOptions method. This code snip it was also obtained from the getting started guide for iOS.
- (BOOL)application:(UIApplication *)application didFinishLaunchingWithOptions:(NSDictionary *)launchOptions
{

    self.client = [MSClient clientWithApplicationURLString:@"https://yourSite.azure-mobile.net/"
                                            applicationKey:@"yourApplicationKey"];

    // Override point for customization after application launch.
    if ([[UIDevice currentDevice] userInterfaceIdiom] == UIUserInterfaceIdiomPad) {
        UISplitViewController *splitViewController = (UISplitViewController *)self.window.rootViewController;
        UINavigationController *navigationController = [splitViewController.viewControllers lastObject];
        splitViewController.delegate = (id)navigationController.topViewController;
    }
    return YES;
}
###Add to MasterViewController.m Now that we have a client setup what can we use it for? Well since our project is a master detail application we can use mobile services to store our objects in azure.
First thing we need to add is the #import statements so we can use our MSClient located in our AppDelegate
#import <WindowsAzureMobileServices.h>
#import "AppDelegate.h"
###Get Data From Mobile Service Table
I added the loading logic into the viewDidLoad function that will populate our _objects array which was present in the default master detail project. The method to retrieve the client and getting a reference to the Items table was also obtained from the getting started guide in the portal.
- (void)viewDidLoad
{
    [super viewDidLoad];
	// Do any additional setup after loading the view, typically from a nib.
    self.navigationItem.leftBarButtonItem = self.editButtonItem;

    UIBarButtonItem *addButton = [[UIBarButtonItem alloc] initWithBarButtonSystemItem:UIBarButtonSystemItemAdd target:self action:@selector(insertNewObject:)];
    self.navigationItem.rightBarButtonItem = addButton;
    self.detailViewController = (DetailViewController *)[[self.splitViewController.viewControllers lastObject] topViewController];

    addButton.enabled = NO;

    //get data from azure mobile services
    MSClient *client = [(AppDelegate *) [[UIApplication sharedApplication] delegate] client];
    MSTable *itemTable = [client tableWithName:@"Item"];
    [itemTable readWithCompletion:^(NSArray *items, NSInteger totalCount, NSError *error) {

        if (!_objects) {
           _objects = [[NSMutableArray alloc] init];
        }

        for(NSDictionary* object in items){
            [_objects insertObject: object atIndex:0];
            NSIndexPath *indexPath = [NSIndexPath indexPathForRow:0 inSection:0];
            [self.tableView insertRowsAtIndexPaths:@[indexPath] withRowAnimation:UITableViewRowAnimationAutomatic];
        }
        addButton.enabled = YES;
    }];

}
###Insert Data To Mobile Services Since our master detail project also had a simple hook to add items to the list this was a good opportunity to add our objects to the azure table. The insert snip it was obtained from the getting started guide with modifications so it fits inside of our demo app.
- (void)insertNewObject:(id)sender
{

    NSString *UUID = [[NSUUID UUID] UUIDString];

    //insert data into mobile services
    MSClient *client = [(AppDelegate *) [[UIApplication sharedApplication] delegate] client];
    NSDictionary *item = @{ @"text" : UUID };
    MSTable *itemTable = [client tableWithName:@"Item"];
    [itemTable insert:item completion:^(NSDictionary *insertedItem, NSError *error) {
        if (error) {
            NSLog(@"Error: %@", error);
        } else {
            NSLog(@"Item inserted, id: %@", [insertedItem objectForKey:@"id"]);

            [_objects insertObject: insertedItem atIndex:0];
            NSIndexPath *indexPath = [NSIndexPath indexPathForRow:0 inSection:0];
            [self.tableView insertRowsAtIndexPaths:@[indexPath] withRowAnimation:UITableViewRowAnimationAutomatic];

        }
    }];
}
###Remove Data From Table The last action you can perform in the master detail application is removing an item. This allows us the ability to remove data from the azure table by deleting the item based on it’s id.
- (void)tableView:(UITableView *)tableView commitEditingStyle:(UITableViewCellEditingStyle)editingStyle forRowAtIndexPath:(NSIndexPath *)indexPath
{
    if (editingStyle == UITableViewCellEditingStyleDelete) {

        //remove the item from mobile services
        MSClient *client = [(AppDelegate *) [[UIApplication sharedApplication] delegate] client];
        MSTable *itemTable = [client tableWithName:@"Item"];

        NSDictionary* item = _objects[indexPath.row];
        NSString* itemId = [item valueForKey:@"id"];

        [itemTable deleteWithId:itemId completion:^(id itemId, NSError *error) {

            [_objects removeObjectAtIndex:indexPath.row];
            [tableView deleteRowsAtIndexPaths:@[indexPath] withRowAnimation:UITableViewRowAnimationFade];
        }];


    } else if (editingStyle == UITableViewCellEditingStyleInsert) {
        // Create a new instance of the appropriate class, insert it into the array, and add a new row to the table view.
    }
}
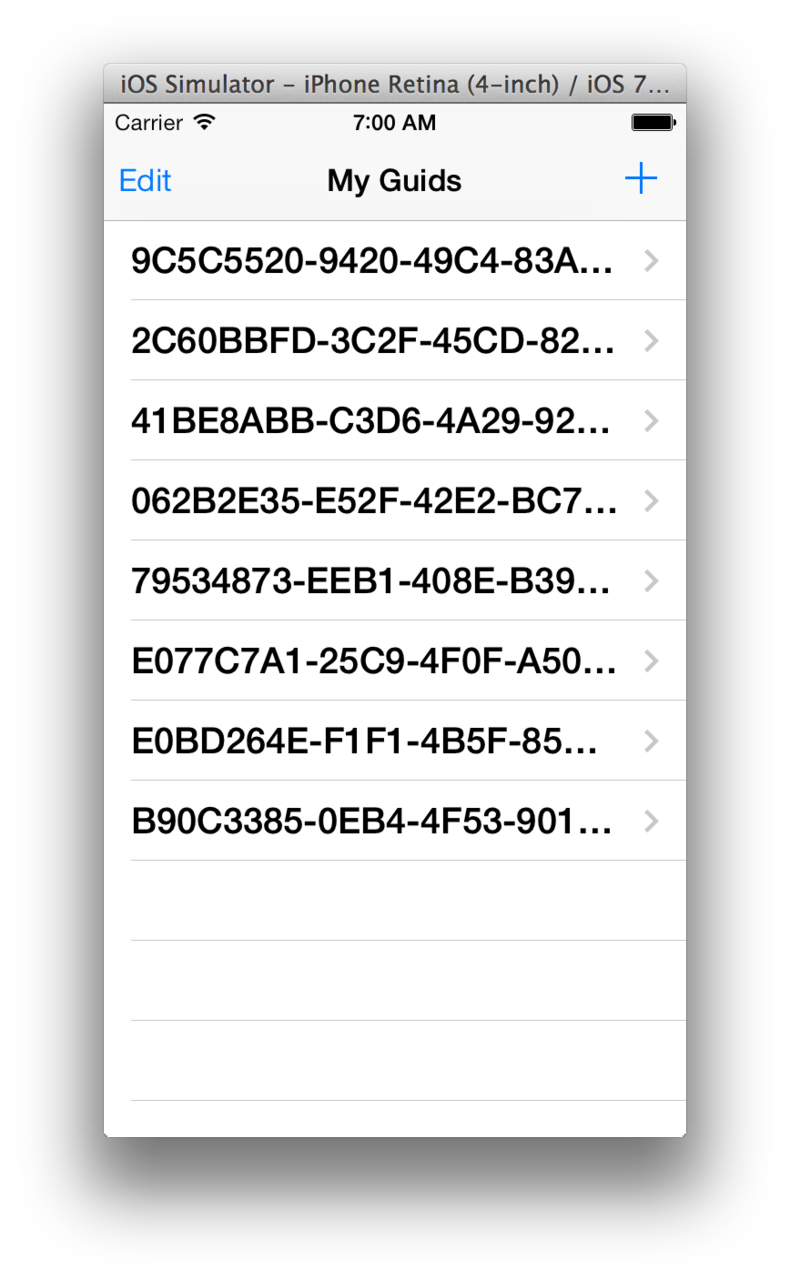
###Run the app Now that we have all the pieces in place we can run our application which will allow us to add, delete, and retrieve items from our azure mobile service.
###Back to the portal
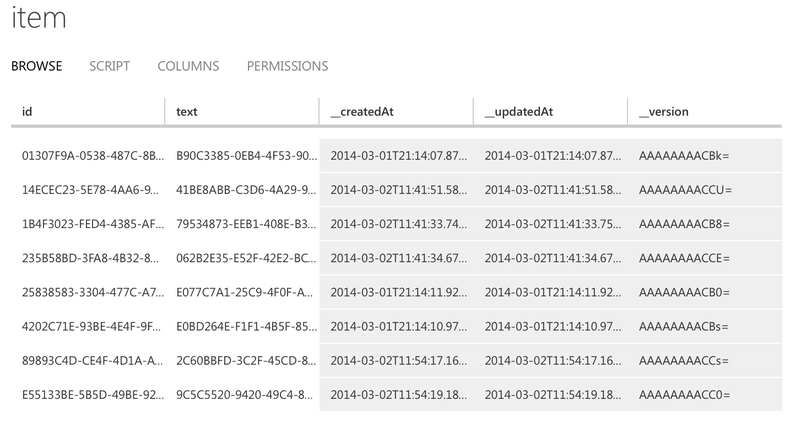
After you add in a few items and you go back to he portal you can see the data that is now in our table.
#Conclusion Once again azure impresses me with the ease to get started with it’s services.