How To: Unshelve To A Different Branch in TFS
to the command line!
March 19, 2014In the past week we were working out of a shelveset inside of TFS and soon realized we needed a branch as working out of the shelveset was not going to work any longer.
I created the new branch, pulled it down, and unshelved the changes while in the new branch. When this action completed I looked around and wondered what happened to my changes? Looking in "Pending Changes" the changes were pulled down, but to the original branch.
To the Google!
After a quick google I turned up the following article describing what I needed to do. The only change I needed was the sheveset was located on another TFS user.
Install Power Tools
To perform this action you need to have TSF power tools installed, since we are running 2013 I downloaded the 2013 version from msdn.
PowerShell
Now that power tools are installed we can go ahead and open up powershell and run the following command.
PS C:\Development> tfpt unshelve "ShevesetName;UserName" /migrate /source:"$/Project/Source" /target:"$/Project/Target"
Just fill in the "SheveSetName;UserName" and the /source and /target branch pieces.
Dialog

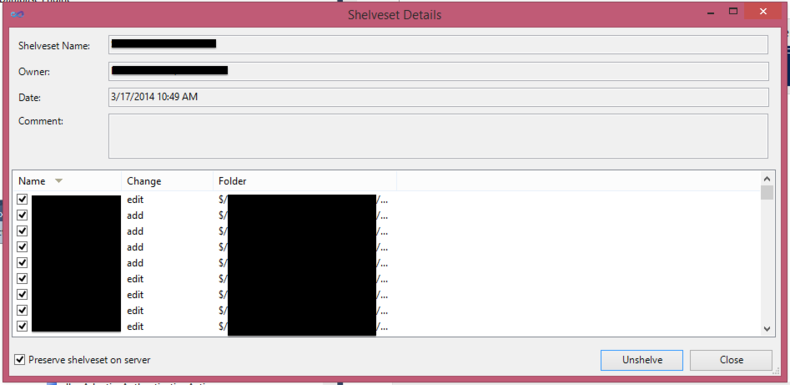
After you run the command you will be presented with a dialog prompting you if you wish to unshelve the changes.
Resolve Dialog

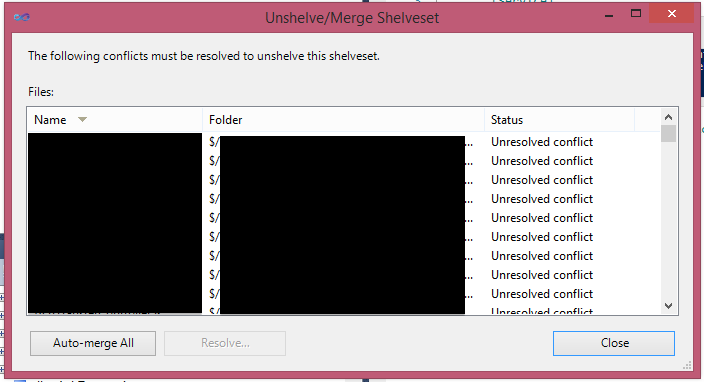
Once you start the unshelve process you will be shown a merge dialog asking you how to resolve any conflicts present between the sheveset and the target branch. After you click "Auto-merge All" you will see the power shell prompt start scrolling as it adds/deletes/auto-merges the files from the sheveset and the target branch. When this finishes you can close down this dialog and the unshelve to a new branch is complete.
Conclusion
This process was hidden inside of the TFS power tools but was easy to accomplish. I am not sure why power tools are required and this can't be just part of TFS but at least there is a way to get it done.
Cover image credit: http://facebook.com/RodrigoMoraesPhotography
